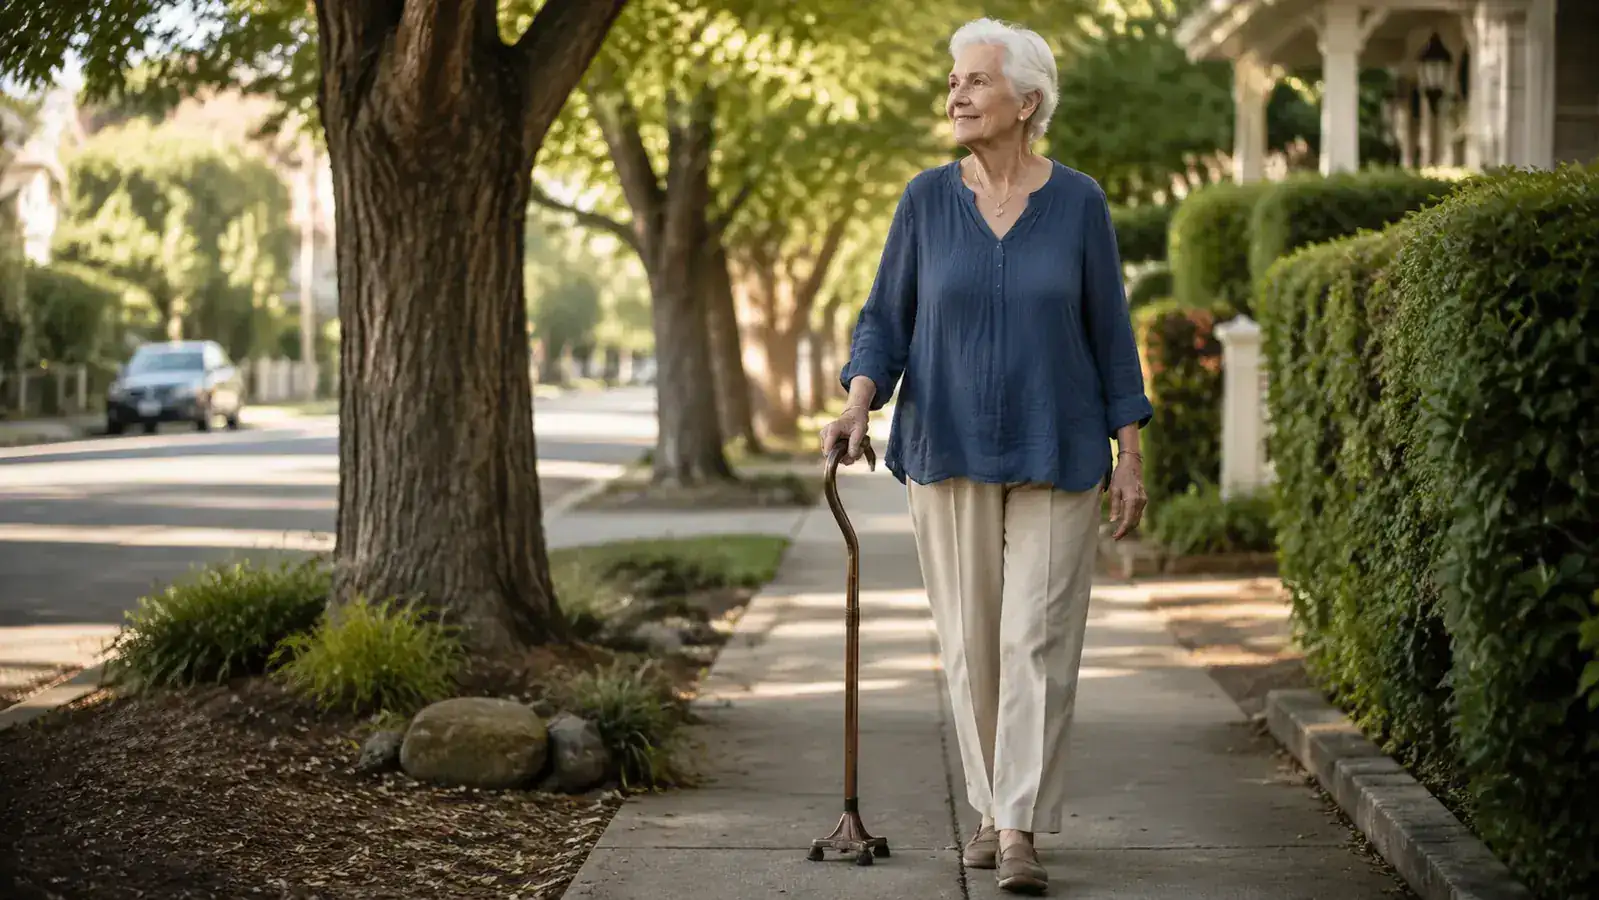
I used a cane for eight months before anyone told me I was doing it completely wrong. I held it on my left side because that felt natural. I set the height by guessing. And I planted it at the same time as my bad leg, which is apparently the opposite of what you're supposed to do. My back hurt every time I walked more than a block, and I blamed the arthritis. I should have blamed my technique.
When my physical therapist, Karen, watched me walk down the hallway on my first visit, she stopped me after about ten steps. She didn't lecture me. She just said, 'Ginny, your cane is working against you right now.' Then she spent five minutes adjusting my height, switched the cane to my other hand, and told me to walk again. The difference was so obvious I actually laughed. I'm not exaggerating when I say my back felt better within three days. The cane wasn't the problem. My grip on it was.
I've heard from a lot of seniors, and from adult children trying to help their parents, who are in exactly the same situation I was. They got a cane after a fall or a surgery, someone handed it to them, and nobody explained how to use it correctly. If that's you, or your parent, this guide is what Karen taught me. I wrote it down so I wouldn't forget, and I'm sharing it because I wish someone had handed me this piece of paper before my second fall.
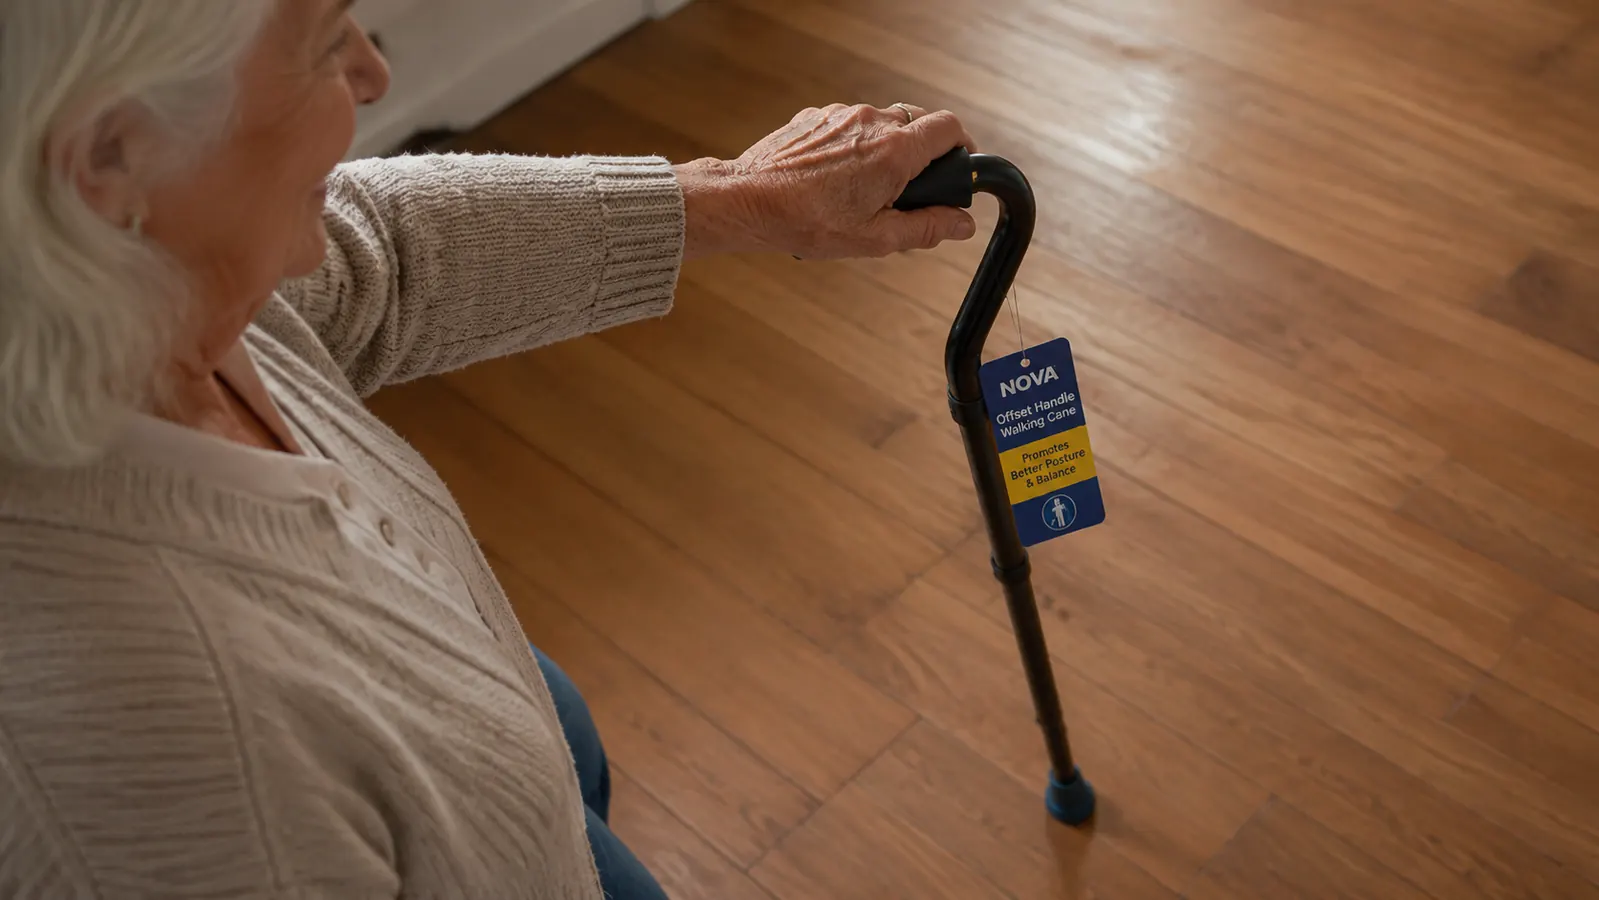
The cane Karen approved for my technique: the NOVA Offset Handle
After my PT corrected my form, she told me most standard cane handles fight your wrist alignment. She recommended switching to an offset-handle design, which puts the weight over the shaft instead of behind it. I bought the NOVA Heavy Duty Offset Cane and have used it every day since. It's the one I'll be referencing throughout this guide.
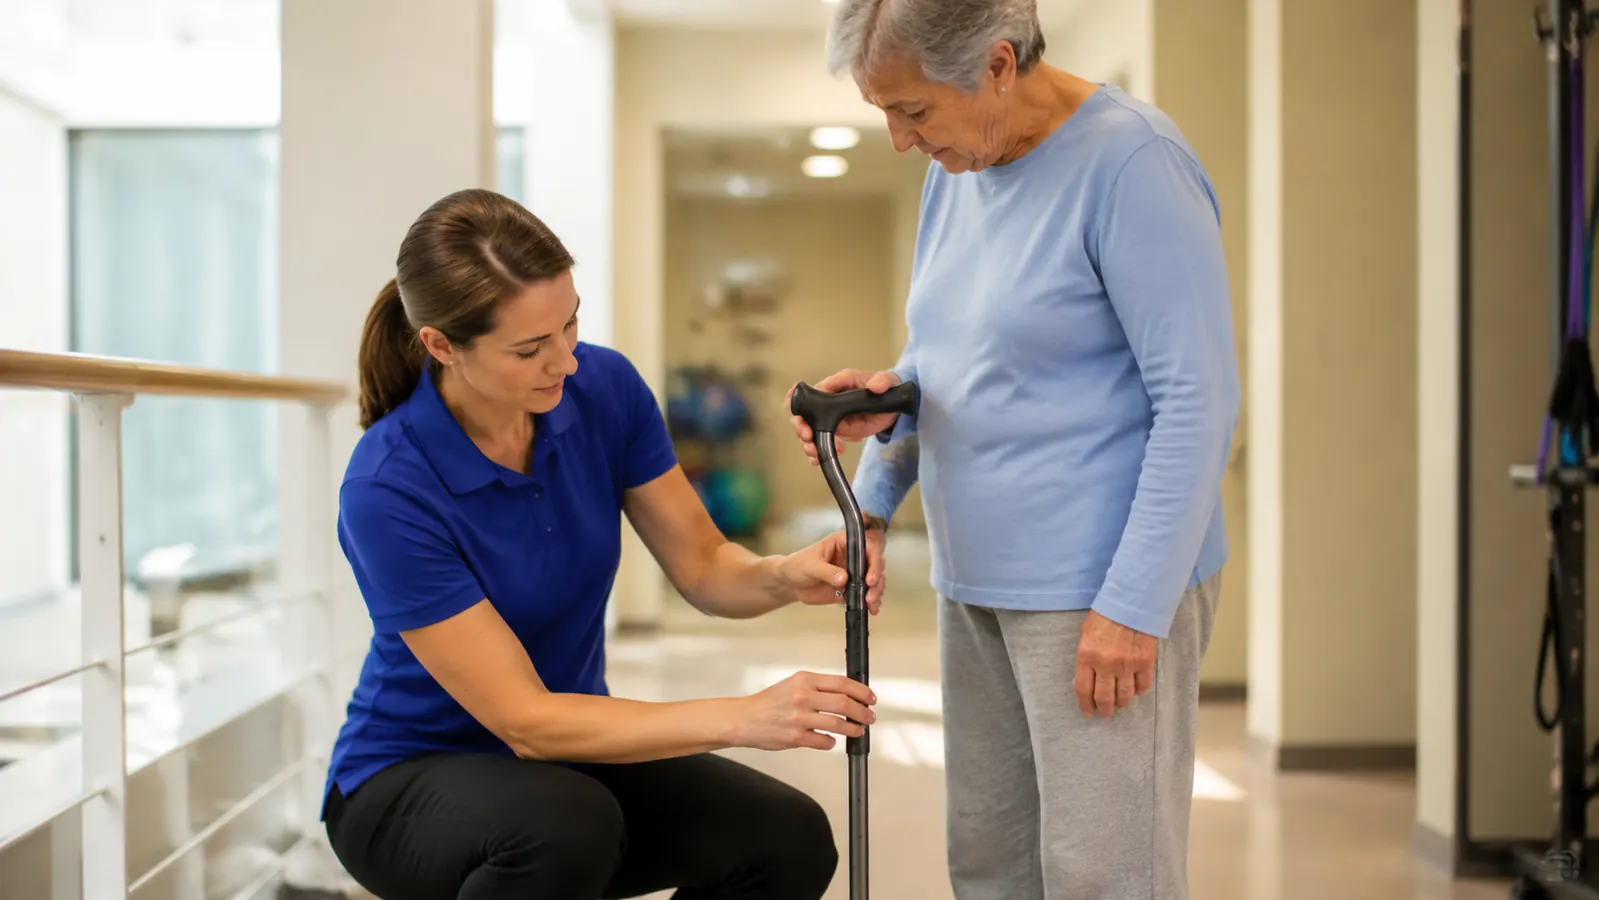
Amazon Check Today's Price on Amazon →Step 1: Set the Cane to the Right Height Before You Take a Single Step
Height is the most common problem Karen sees. Most people set their cane too short, which forces them to hunch, or too tall, which locks out the elbow and turns the cane into a pole you push against rather than a support you lean into. Neither works, and both cause back strain over time.
The correct method: stand up straight in your normal shoes (not barefoot, not in slippers, because heel height changes the measurement). Let your arm hang relaxed at your side. The top of the cane handle should reach the crease of your wrist. Some PTs say to look for a slight bend at the elbow, roughly 15 to 20 degrees, when your hand is on the grip and the cane tip is on the floor. That bend is the tell. If your elbow is completely straight, the cane is too tall. If you're hunching your shoulder, it's too short.
The NOVA offset cane has push-button height adjustment in one-inch increments, and it holds the setting firmly without slipping. Have someone check your elbow angle from the front and from the side. Getting this right before you practice anything else makes every other step easier.
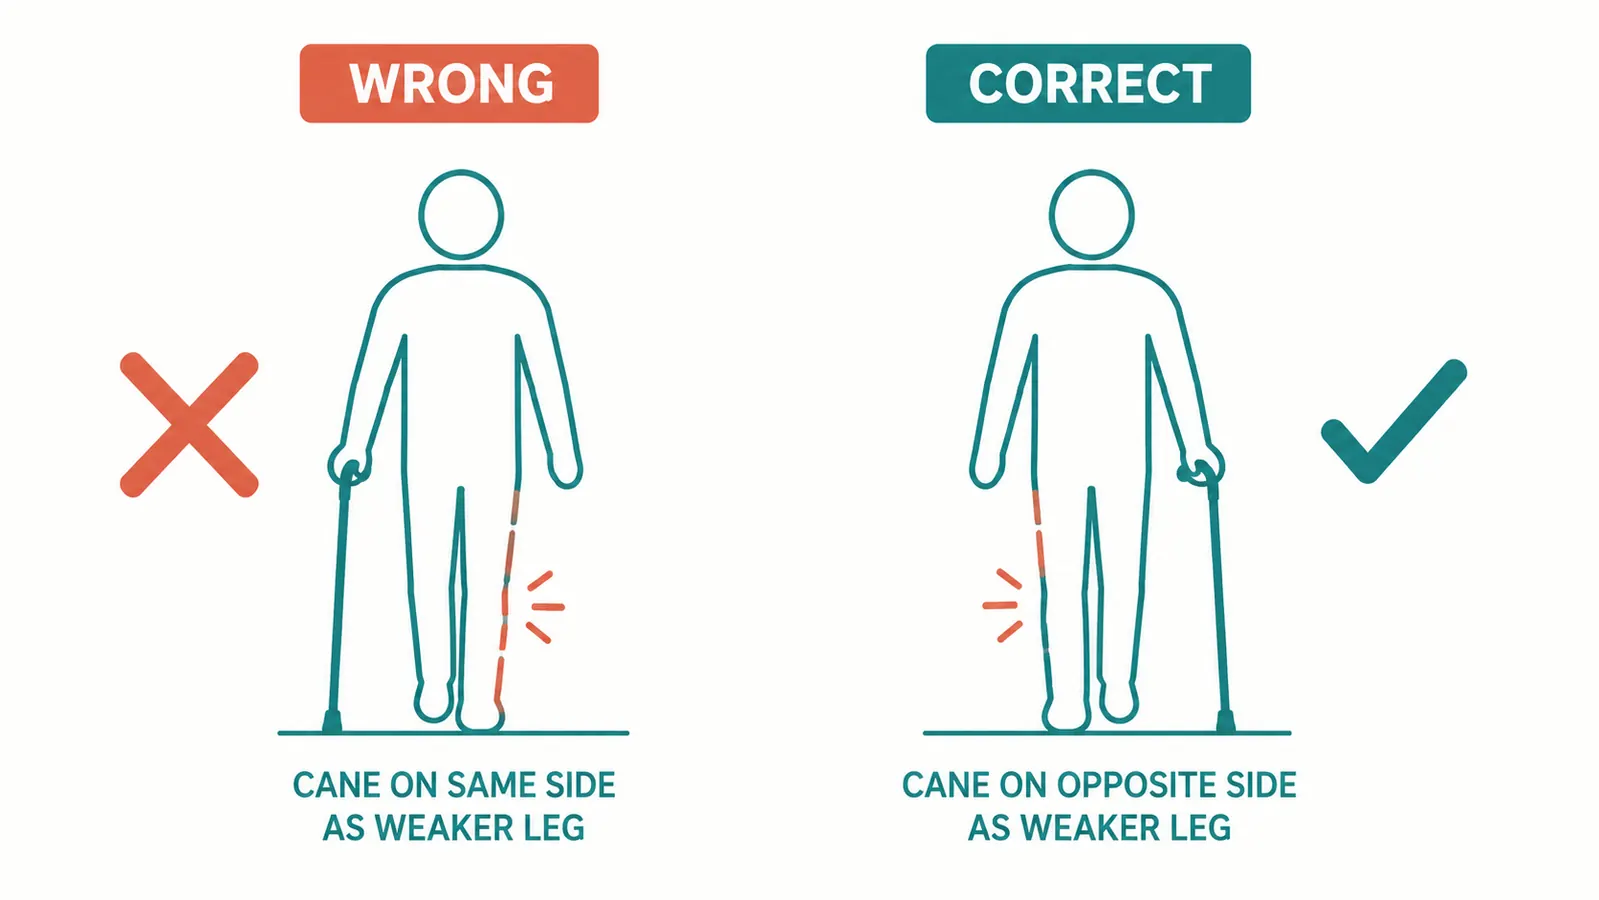
Step 2: Hold the Cane on Your Stronger Side, Not Your Weaker One
This is the single most important correction Karen made for me, and the one that surprises almost everyone. Instinct says to hold the cane on the side that hurts, or the side that had the surgery. Your instinct is wrong. Hold the cane on the opposite side from the weak or painful leg.
Here is why it matters. When you walk, your body naturally transfers weight across your hips with each step. When your left leg swings forward, your right hip takes the load, and vice versa. If your right hip or knee is the weak side, you want the cane in your left hand. When you step with your right (weak) foot, the cane goes forward with it on the left side. That creates a diagonal support that mirrors how your body actually moves. Holding the cane on the same side as the bad leg does the opposite. It pitches your weight sideways instead of supporting it through the center, which is why your back aches.
If you've had a stroke or have weakness on one side from a neurological cause, this rule still applies in most cases, but ask your physical therapist specifically because the instructions can differ. For the typical arthritis, hip, or knee situation that most of us deal with, the rule is consistent: cane on the stronger side.
Step 3: Move the Cane and the Weak Leg Together
Once you have the right side, the next thing to fix is the timing. Most people plant the cane first, then step with the weak leg, then step with the strong leg. Or they plant the cane at the same time as the strong leg. Both of these are wrong and create an uneven, lurching gait that puts extra torque on your lower back.
The correct pattern is this: the cane and the weak leg move forward at the same time. Then your strong leg steps through to complete the stride. In a rhythm it sounds like: cane-and-bad-leg together, then good-leg follows. Walk slowly at first and say it out loud if you need to. 'Together, follow. Together, follow.' It feels awkward for a day or two. Then it feels like the only natural way to walk. Karen had me practice in the hallway for about ten minutes until it clicked, and she was right that once it clicks it stays.
The offset handle on the NOVA cane helps here because the weight is centered over the shaft rather than behind the grip. That means when the cane goes forward with your weak leg, it lands more solidly instead of tipping forward under your hand. It is a subtle thing but you feel it after a few blocks.

Step 4: Handle Stairs Safely, One Step at a Time
Stairs are where a lot of seniors fall, and using a cane on stairs requires a separate technique from flat walking. The rule Karen gave me is easy to remember because it sounds a little dark: 'Up with the good, down with the bad.' Your strong leg leads going up. Your weak leg leads going down. And wherever there is a railing, you use it.
Going up: step up with your strong leg first, then bring the weak leg and the cane up to the same step. Do not try to alternate legs like you would on a normal staircase. Take it one step at a time, strong leg up, then cane and weak leg up. Going down: cane tip goes down to the lower step first, then the weak leg steps down, then the strong leg follows. Cane first, bad leg, good leg. If there is a railing, put one hand on the railing and keep the cane in the other hand. If there is a railing on both sides, you can loop the cane over your forearm or tuck it for a moment. Do not rush.
If your home has stairs you use daily, practice this sequence until it is automatic. Falling on a staircase is almost always worse than falling on flat ground.
Step 5: Check These Four Things Every Few Weeks
Once your technique is right, you still need to keep the cane itself working properly. A worn-out rubber tip is a fall waiting to happen. Karen told me to check these four things on a regular basis, roughly every four to six weeks or whenever I notice something feels off.
First, the rubber tip. Flip the cane over and look at the bottom. If the tip is flattened, cracked, or the tread is worn smooth, replace it. Tips are cheap, under five dollars for a pack of them, and a fresh tip grips the floor the way it is supposed to. Second, the height lock. Push the button and make sure each height setting clicks firmly into place and does not slide when you put weight on it. Third, the grip itself. If it is slippery from hand lotion or worn smooth, consider a grip wrap or replacement. Fourth, the overall shaft. Look for any bending or cracking, especially on aluminum canes. The NOVA heavy duty cane is rated to 500 pounds and I have had no shaft issues in over a year, but checking is still a good habit.
A cane that is worn, loose, or at the wrong height is not a neutral tool. It is an active risk. Five minutes of inspection every month is worth far more than the cost of replacing a tip.
What Else Helps Beyond Technique
Correct cane technique takes a lot of the strain off your back and hips, but it does not do everything on its own. The other piece Karen stressed was footwear. A cane works best when your feet are actually connected to the ground. Worn-out shoe soles, loose slippers, or thick socks on a hard floor undermine everything the cane is doing. She told me to treat proper shoes the same way I treat a proper cane: a tool that either works or doesn't, and worn-out tools don't work.
Strength and balance exercises are the second piece. A cane compensates for instability, but it works much better if you are also building your own stability at the same time. Karen gave me a set of seated leg exercises I do every morning, nothing dramatic, just things to maintain the muscle that keeps my joints tracking right. If you haven't had a PT evaluation since your fall or surgery, it is worth asking your doctor for a referral. Most insurance covers a few sessions, and those sessions are where I got the technique correction that changed everything for me.
If you want to read more about the specific cane that worked best for my corrected technique, I wrote a longer piece on it here: NOVA Offset Handle Cane Review: Two Years of Walking With It Every Day. And if you're wondering whether the offset handle is actually worth it over a standard cane, I cover that in detail in 10 Reasons I Switched From a Standard Cane to an Offset Handle Cane and Won't Go Back.
Karen stopped me after ten steps and said, 'Ginny, your cane is working against you right now.' She was right. Five minutes later I felt the difference. Eight months of unnecessary back pain, fixed by knowing which hand to use.
If you're ready to fix your technique, start with the right cane
You can get the technique right with any adjustable cane, but it's easier when the cane itself is designed for it. The offset handle distributes weight directly over the shaft, so each step feels more grounded. The NOVA Heavy Duty Offset Cane has 4.7 stars from over 2,800 buyers, a 500 lb. weight rating, and easy push-button height adjustment. It's what I walk with every day, and it's what Karen approved after watching my corrected form.
Amazon Check Today's Price on Amazon →